Learning how to burn things
May 07, 2023
Tags: pottery internet of things automation progressAt some point in the past, I decided that I wanted to learn pottery, mostly inspired by the work of Florian Badsby. I took my usual route to learning anything new, and dove right in, head first, and tried to figure things out as I went. Turns out pottery is quite fiddly, specially the firing process, which requires not only certain temperatures to be achieved and maintained, but also depended on how you got there. Go to fast and stresses in the part maybe causes cracks or other failures. If the temperature oscillates, the piece may contract and expand, also causing cracks. It is a relatively sensitive process.
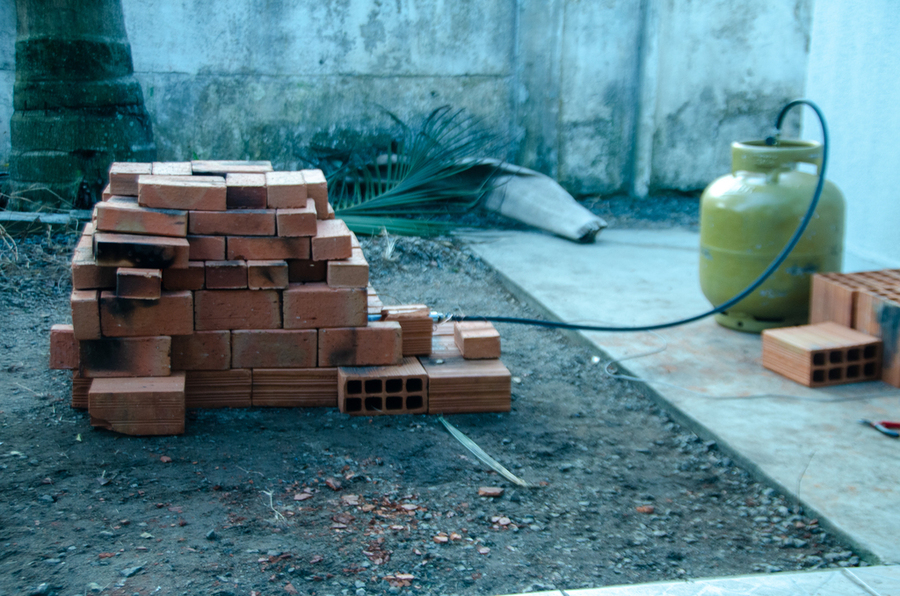
My first kiln used coal as fuel, and a hair dryer to force air in and reach the required temperatures. At this point, my goal was to bisque fire a piece without it cracking. Temperatures were monitored using one or more thermocouples. I didn't take any notes on what worked or didn't, rather I built a (very flawed) intuition.
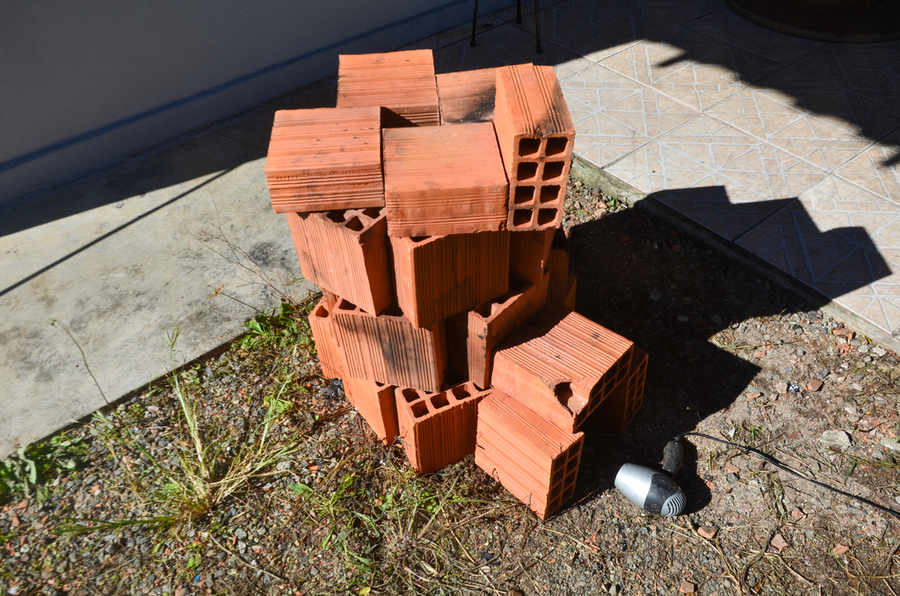
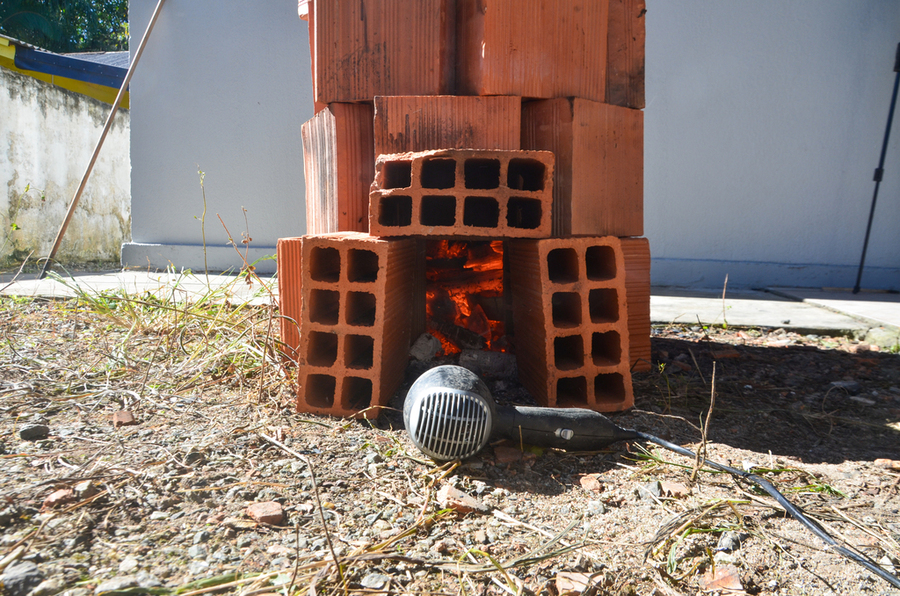
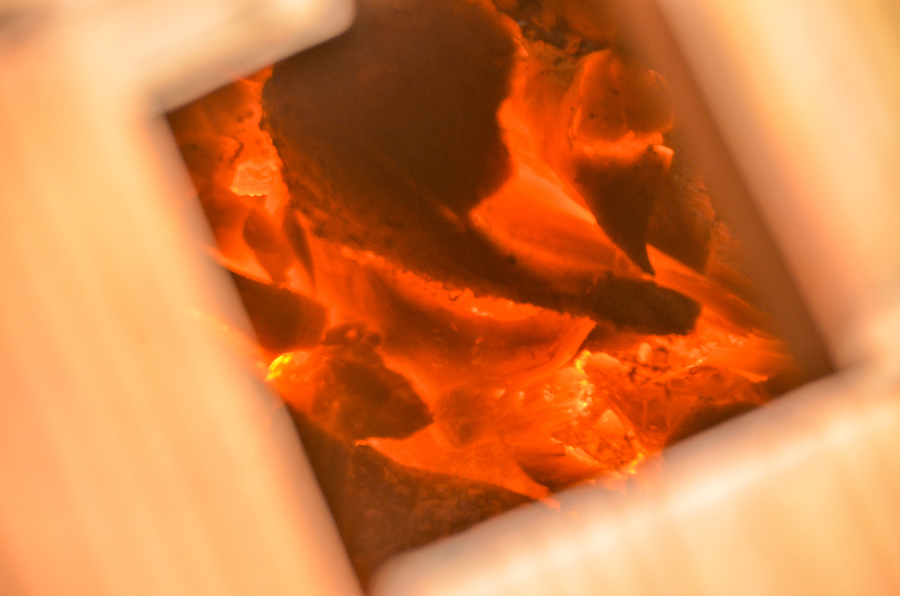
The second iteration used bottled gas from my kitchen (which I think is Liquefied petroleum gas). This change and ease of control allowed me to somewhat consistently bisque fire pieces, although often at least one piece would crack.
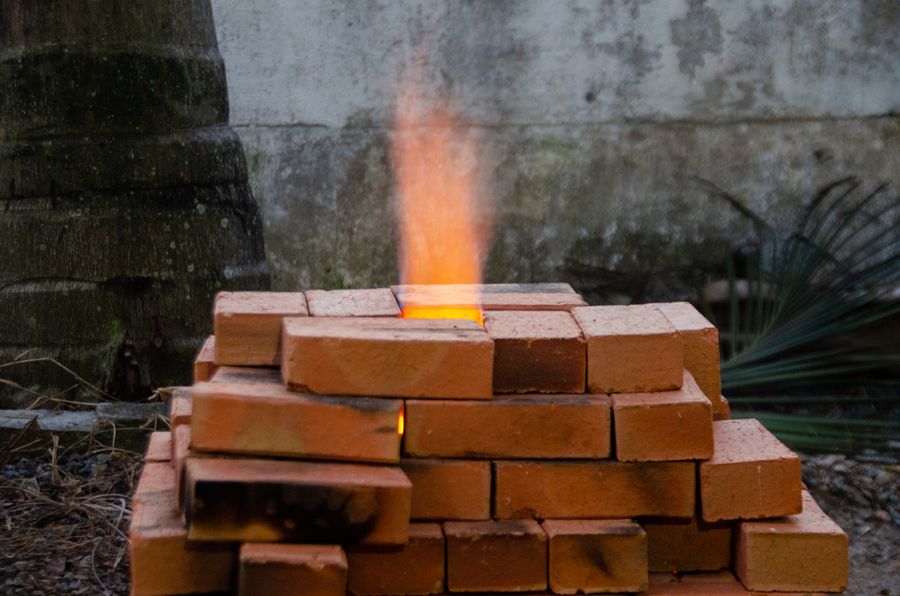
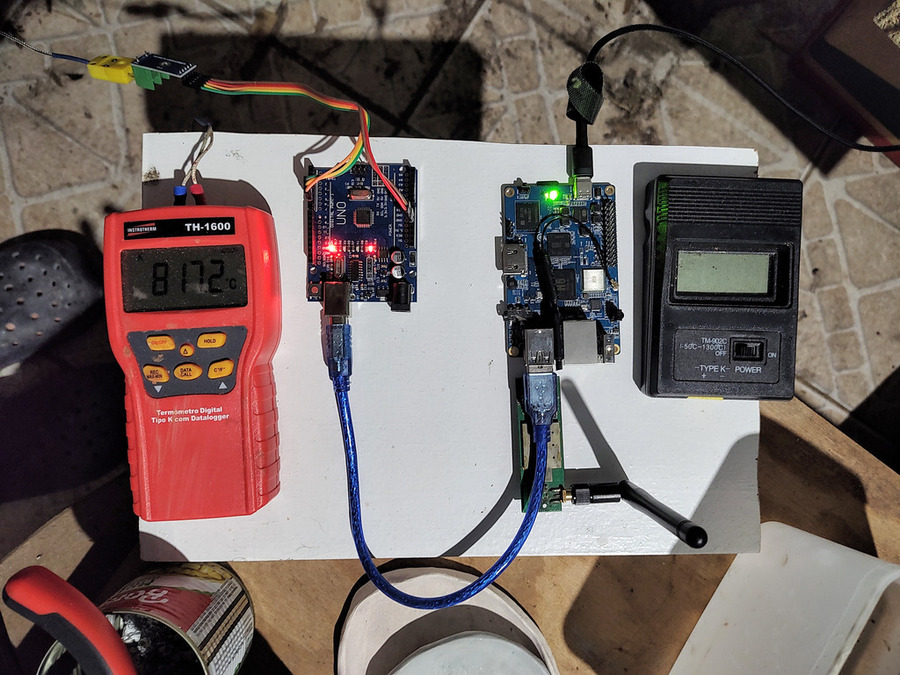
At this point, which using my gas fueled kiln, I decided it would be a good idea to start keeping track of what I did. The temperatures, the rates, hold times, etc. Knowing that I wasn't one to write things down consistently enough and having a handwriting so bad that often I can't decipher what I wrote, I decided to automate this. Thus was born the "smart kiln" project: An automated temperature logger.
Powered by some cheap chinese thermocouples, cheap Arduino clones and a cheap raspberry pi knockoff, it ran some python code to track and push the temperatures to an InfluxDB instance I had laying around from another project. From InfluxDB, I could see the data using Grafana. This allowed me to see exactly the temperature curves that I used to fire. Using Grafana Annotations feature, I could easily take notes of events that happened and what I was doing. Things such as changing the gas flow rate, or changing the flue opening size. This led me to significant improvements on the quality of my pieces, while also allowing to do firing more often, including during work days. By being able to monitor the temperatures from my cellphone, set alerts using Grafana and take some peeks using an IP Camera. Some carefully placed thermocouples on the outside at critical locations, such as on the gas hoses and on the outside of the kiln gave me enough confidence to be able to work without checking it every 5 minutes. However, my monkey brain didn't really like the idea of having something that can explode unattended. Furthermore, the kiln still had some issues blocking my progress.
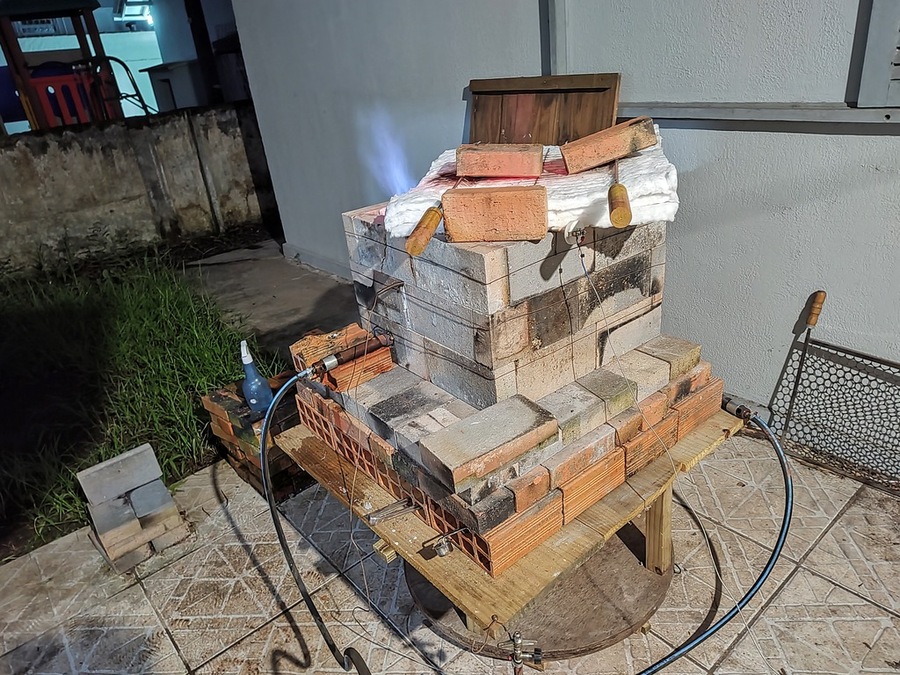
The main downside of my gas kiln, was reaching low enough temperatures and slowly ramping up to prevent thermal shock from cracking the pieces. Venturi burners, which depends on gas pressure to draw in air, require a minimum gas flow rate to operate stably. Below a certain threshold, the flame front would creep into the burner and things would get dangerous. Another issue, one that I never fully understood, was glaze firing. Multiple pinholes, bubbles, and other issues prevented me from being to create an usable piece of pottery.
At around this time, I got my hands at an old electric kiln. Although a bit rusty and corroded, and worked surprisingly well. At temperatures lower than around 150c it would oscillate around 20 or 30 degrees, but as temperatures increased, it could maintain temperatures that for my purposes could be considered constants. That main issue with the kiln, was that the only control was setting a target temperature. The controller would try to get there as fast as possible. This meant that for me to fire something, I had to check it every 20 minutes or so to set a new temperature. A very timing consuming process.
The next logical step for me, was to modernize the kiln, with a controller that could be programmed to follow a firing schedule. After quickly checking only, the only cheap options were essentially a modern version of the old controller, that couldn't be programmed. So, me being me, I decided to make my own. I already had an Arduino and some thermocouples attached to the kiln and linux running on the pi knockoff where I could ssh into to do things.
There began my idea to take the "smart kiln" project to the next level. First step was to document how the kiln worked at it's original configuration (or at least at the configuration I received it in). Lots of pictures went google photos album, so that if my plan failed I would be able to put things together into a working state.
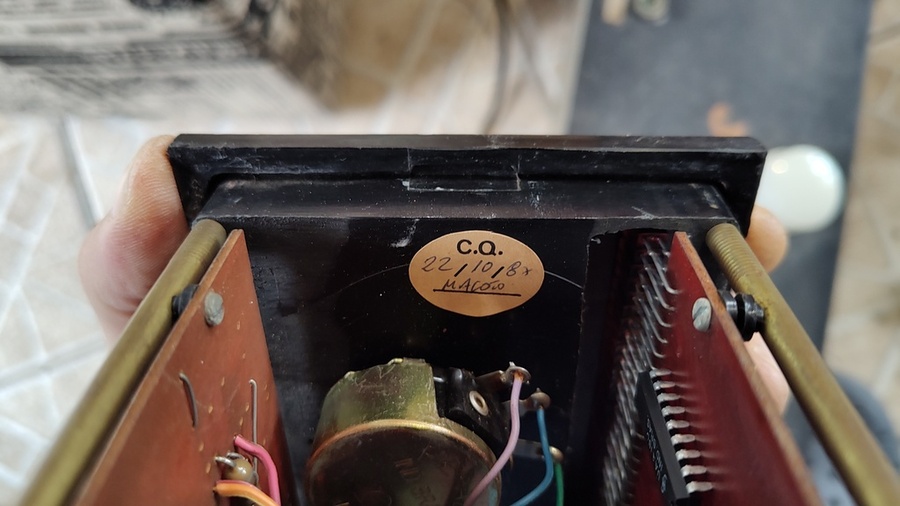
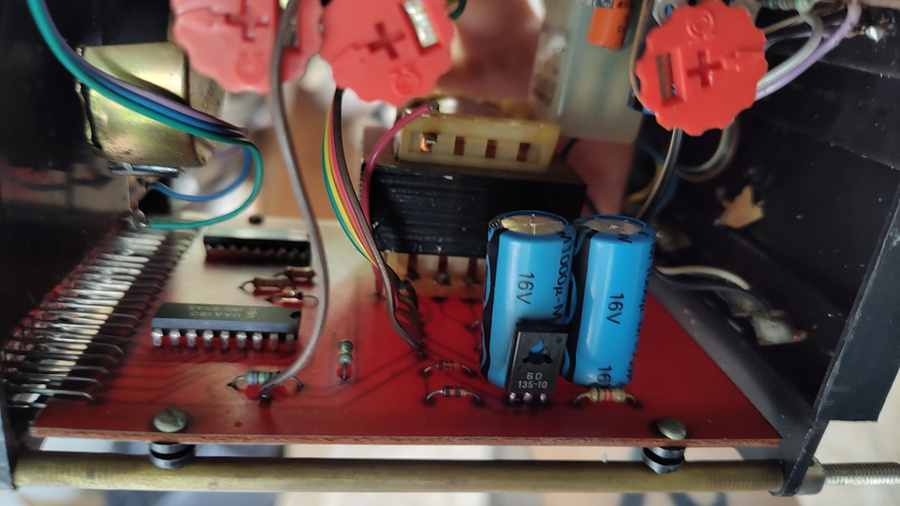
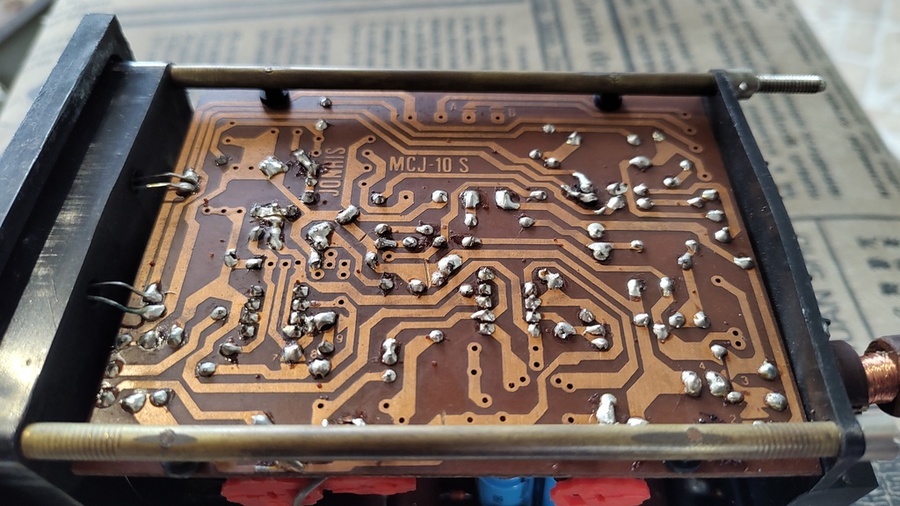
While digging around inside the control box of the kiln, I decided to to open
the PID Controller and see what was inside. It had a very "old tech" feeling to
it. Inside it I found a QA seal dating 198*, and the chips dating 1984!. At
this time, my country (Brazil), was a military dictatorship. Digging around the
circuitry, all integrated circuits were of national production. One of them was
dated to 1981. A quite interesting discovery. Again I took pictures and
documented my findings.
Getting the kiln to follow a firing schedule was surprisingly easy. Took the first PID library I could find with some random tuning parameters and it worked so well that I never bothered to change it. The firing schedule is stored in a text file, that looks like this:
00:00 25
02:30 115
03:40 115
06:15 982
06:30 982
07:30 1010
08:00 1010
08:10 982
08:40 982
10:40 760
12:00 0
The left column is the time, and the right one is the target temperature in Degrees Celsius. Anything in between is linearly interpolated. This allows to easily set new firing schedules and to experiment. Grafana produces a lot of data, including multiple sensor readings, the PID tunings, the set point, and more. The firing schedules are committed to git, which allows for easy bookkeeping and cross-referencing. Notion is used to document experiments with before and after pictures, and a link to the firing schedule utilized and the timestamps where it can be found on Grafana. This flow is very easy to use, which has allowed me to improve rather quickly.
For those interested, here is the full code: smart-kiln. It is very custom and specific and not intended to be generic. Hopefully it can serve as a reference. If all goes well, I should be writing more in detail about the "final" kiln and how it works.
Meta: This writing turned out to be way longer than I expected, and more about the history of my kilns than about the technical expected of the my latest kiln. The "narrative" is all over the place too. Nevertheless, I am happy with it. Figured it was better to get something out rather than try to get it to be good. Glad to be writing again :)